Always wanted to create your own lamp, but don’t know where to start? We’ve got you covered with the Creations products from Calex! With the items as good as set to be assembled, choose your cord, fitting and ceiling cap and get started. Just follow these simple steps.

To complete the following steps you’ll need these components and tools.
Pssst! Is one of these components missing? Please contact our customer service!
Slide the thickest rubber tube about 7 cm over the cord. It doesn’t matter which side of the cord you choose to start with. Tighten the bolt in the nut and slide it over the cord and the plastic rubber. Make sure it covers the rubber tube completely so you no longer see it. Slide the two thin rubber tubes over the blue and brown colored wires of the cord. If the tubes are longer than the wires, cut the tubes to size with scissors.

Place the screwdriver between the wings on the top part of the plastic fitting and pry until it comes loose. You may have to use a little more force to open the fitting, this is normal. Slide the aluminum sleeve over the cord first and slide the top of the plastic fitting (with the round side first) over the cord. Don’t tighten the bolt yet.

The lower part of the plastic fitting has four small holes. Insert the blue wire into one of the four holes and the brown wire into the opposite hole. Never insert them next to each other! This will cause malfunction to the product once it’s connected to the electricity. Pry the wires into the holes until you hear a click.

The plastic fitting has a small gap that makes sure it will fit into the aluminum sleeve properly. Rotate the plastic fitting until the white edge completely disappears into the aluminum sleeve. Now tighten nut so the aluminium sleeve is tightened to the plastic fitting. Screw the mini plastic screw into the cap to make sure it’ll stay in place.

To complete the following steps you’ll need these components and tools.
Pssst! Is one of these components missing? Please contact our customer service!
Screw the bolt in the nut and push it from the outside through the hole in the ceiling cap. On the inside of the ceiling cap, place the ground wire (green/yellow) over the bolt first, followed by the ring of the white junction box and end with the locking ring. Tighten the nut until there is no more space between all parts and the ceiling cap.
Now insert the end of the cord through the ceiling cap and determine the length of your wire. You can wind up excess wire inside the ceiling cap. To prevent the cord from sliding, screw the plastic mini screw through the hole in the aluminum cap.

Slide the supplied ground wire through the middle port and tighten the screw until the wire can no longer be pulled out. Now insert the blue and brown wires on both sides of the ground wire in the same way and tighten the screws. Your fixture is now ready to be connected to the power supply and hung!
When connecting the lamp, make sure that you mirror the color of the wires with the ones on the opposite side and that there is no voltage on the cables in the ceiling!

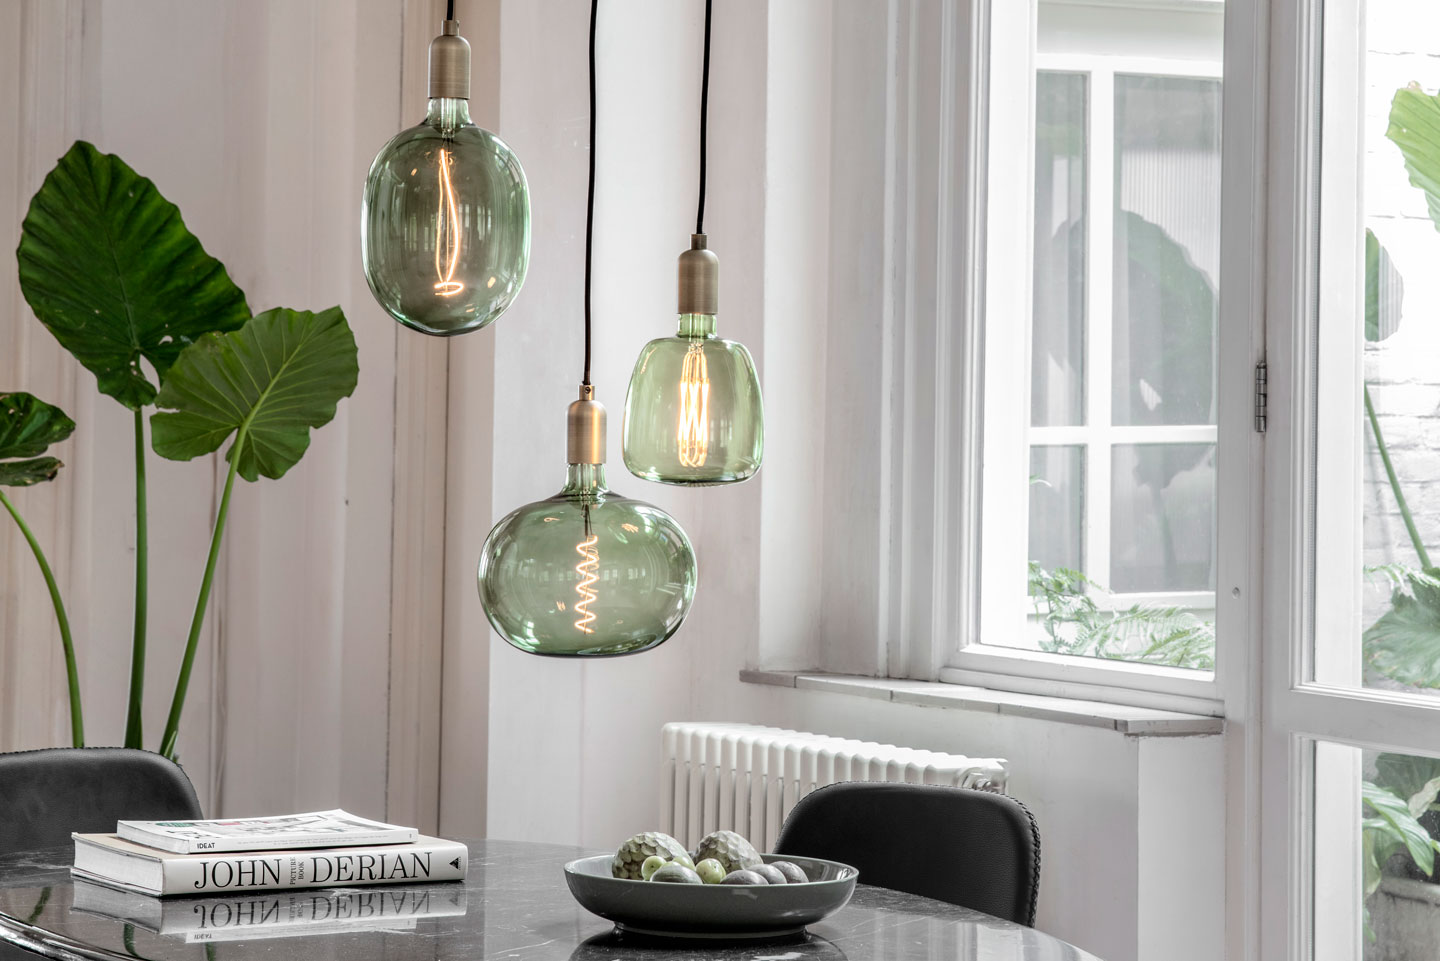
For extra inspiration for cord/fitting combinations; check out our Instagram or Pinterest and we’ll surprise you with the endless possibilities!
You will have blogs content here once you upload them!
Lorem ipsum dolor sit amet, consectetur adipiscing elit, sed do eiusmod tempor incididunt ut labore et dolore magna aliqua. Ut enim ad minim veniam, quis nostrud exercitation ullamco laboris nisi ut aliquip ex ea commodo consequat. Duis aute irure dolor in reprehenderit in voluptate velit esse cillum dolore eu fugiat nulla pariatur. Excepteur sint occaecat cupidatat non proident, sunt in culpa qui officia deserunt mollit anim id est laborum.
Lorem ipsum dolor sit amet, consectetur adipiscing elit, sed do eiusmod tempor incididunt ut labore et dolore magna aliqua. Ut enim ad minim veniam, quis nostrud exercitation ullamco laboris nisi ut aliquip ex ea commodo consequat. Duis aute irure dolor in reprehenderit in voluptate velit esse cillum dolore eu fugiat nulla pariatur. Excepteur sint occaecat cupidatat non proident, sunt in culpa qui officia deserunt mollit anim id est laborum.
Lorem ipsum dolor sit amet, consectetur adipiscing elit, sed do eiusmod tempor incididunt ut labore et dolore magna aliqua. Ut enim ad minim veniam, quis nostrud exercitation ullamco laboris nisi ut aliquip ex ea commodo consequat. Duis aute irure dolor in reprehenderit in voluptate velit esse cillum dolore eu fugiat nulla pariatur. Excepteur sint occaecat cupidatat non proident, sunt in culpa qui officia deserunt mollit anim id est laborum.
Lorem ipsum dolor sit amet, consectetur adipiscing elit, sed do eiusmod tempor incididunt ut labore et dolore magna aliqua. Ut enim ad minim veniam, quis nostrud exercitation ullamco laboris nisi ut aliquip ex ea commodo consequat. Duis aute irure dolor in reprehenderit in voluptate velit esse cillum dolore eu fugiat nulla pariatur. Excepteur sint occaecat cupidatat non proident, sunt in culpa qui officia deserunt mollit anim id est laborum.

Created on:
Nov 21, 2023 4:58 PM
Last updated:
Feb 15, 2024 2:06 PM
.png)
Become a part of the vibrant Calex Community! By following us, you'll gain access to a world of exciting giveaways, interactive livestreams, and endless product inspiration that enriches your life. But that's not all – we also provide exclusive insights, tips, and an opportunity to participate in unique Calex events. So, what are you waiting for? Join us and discover the many benefits of the Calex Community today!
.svg)


.svg)
